Nuwa TrainKit(トレーニングキット) Tutorial
This document provide step by step tutorial to setup a 3rd define intent for SDK CustomBehaver receive.
Nuwa Website
- NuwaRobotics Website (https://www.nuwarobotics.com/)
- NuwaRobotics Developer Website (https://dss.nuwarobotics.com/)
- NuwaRobotics TrainKit(トレーニングキット) Website (https://trainkit.nuwarobotics.com/)
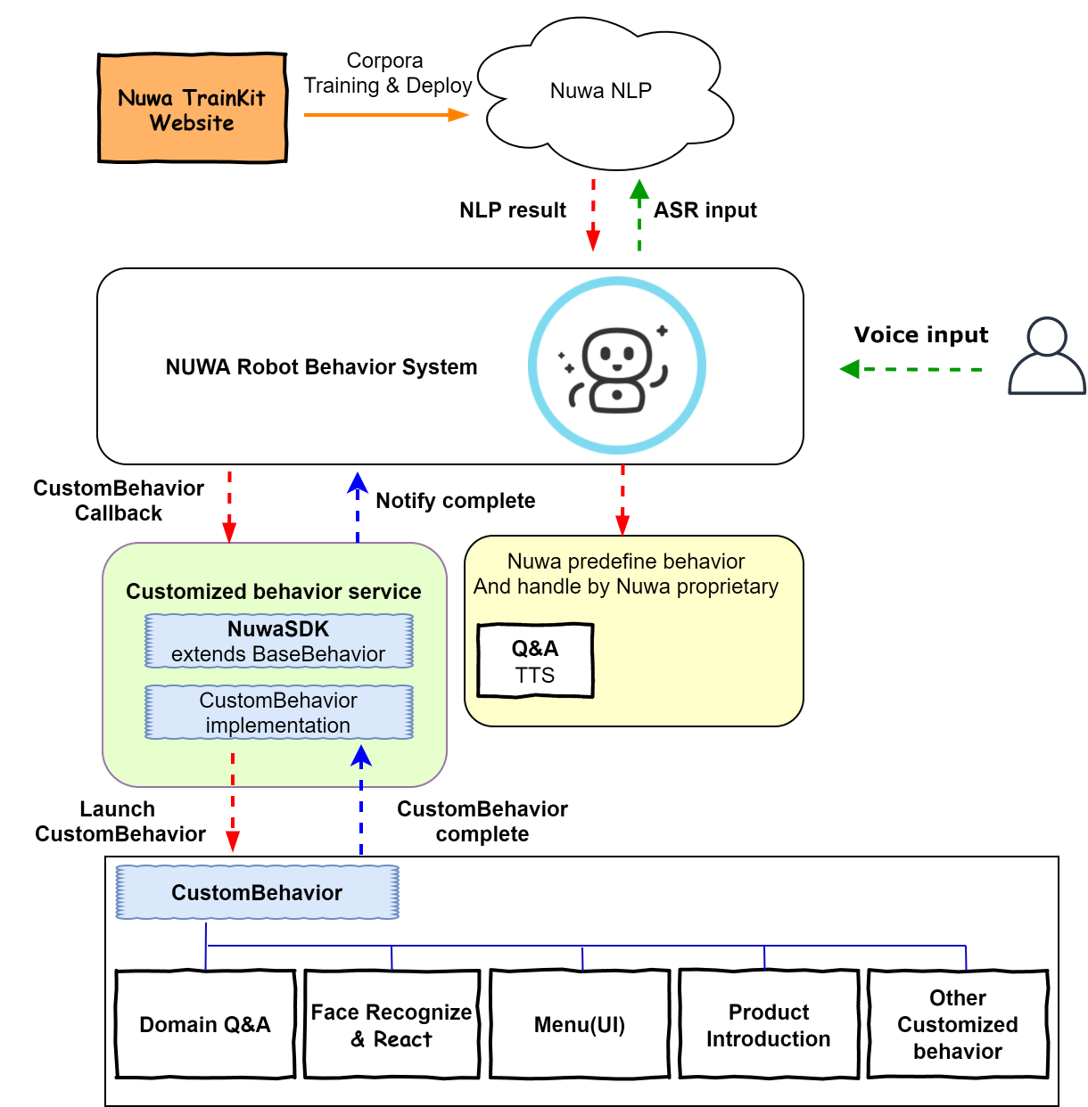
NUWA CustomBehavior Architecture
Design and Create your own behavior on Nuwa Robot is possible now.
CustomBehavior is realized as a plug-in of robot behavior system
Register NUWA Account
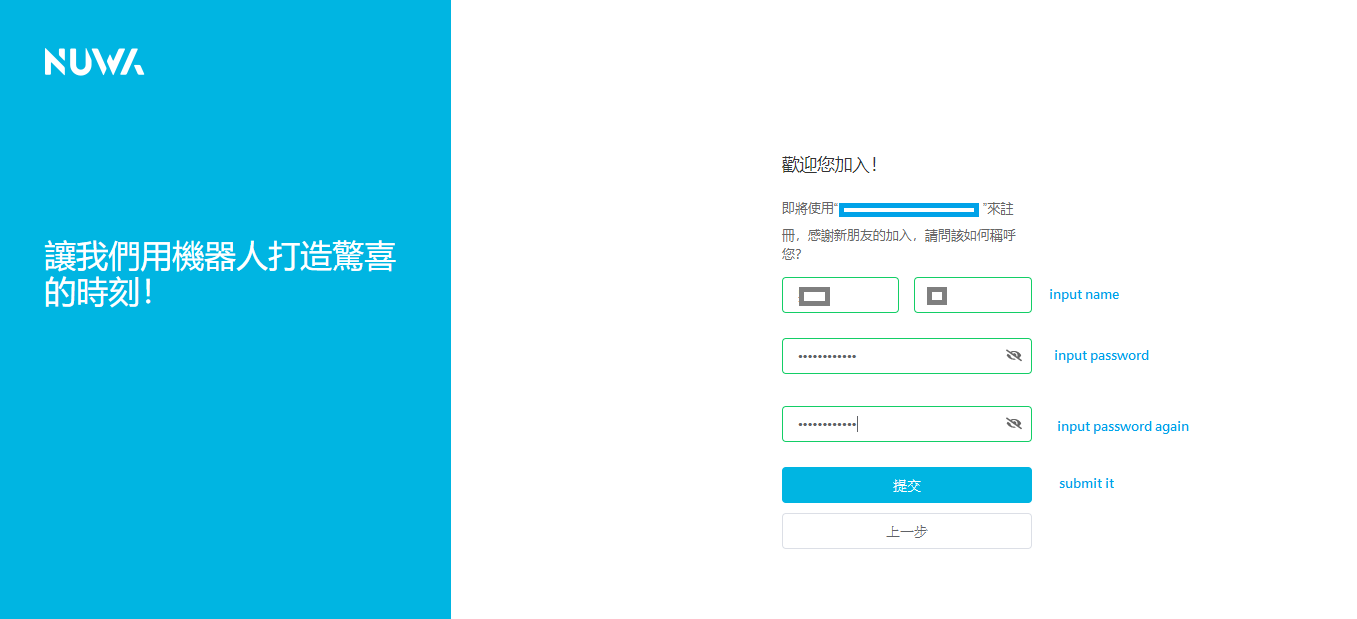
use your email to register NUWA ACCOUNT
Please select region、fill email and agree NUWA LICENCE to start.

Fill personal information.
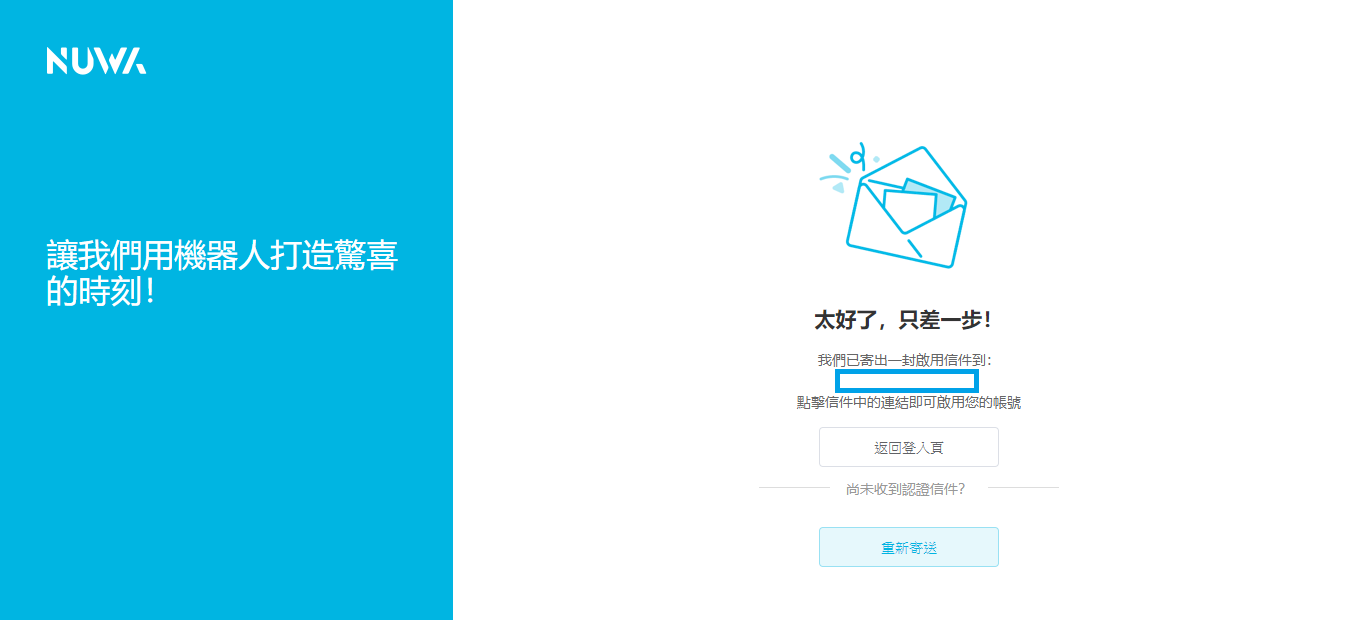
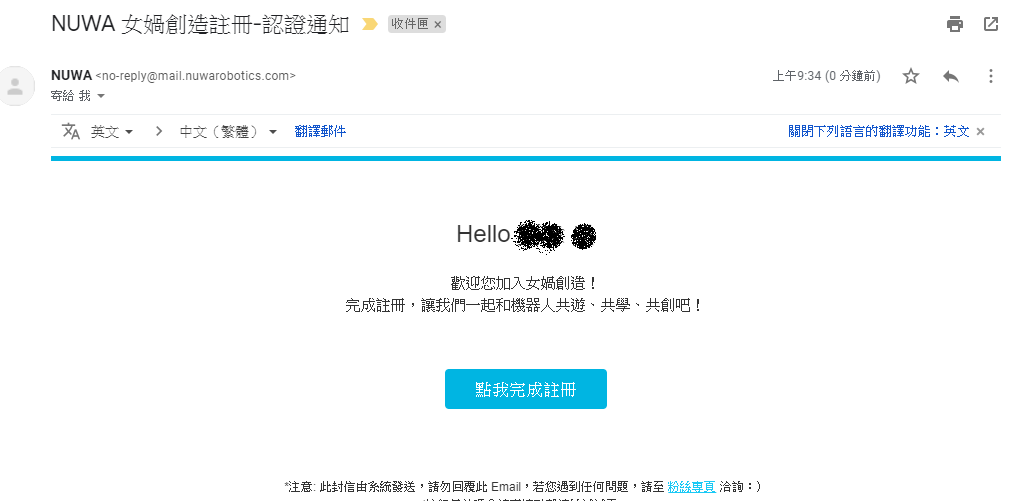
Register finish and receive confirm mail.
Open confirm mail and click finish regster (Example from Gmail)

Create a project
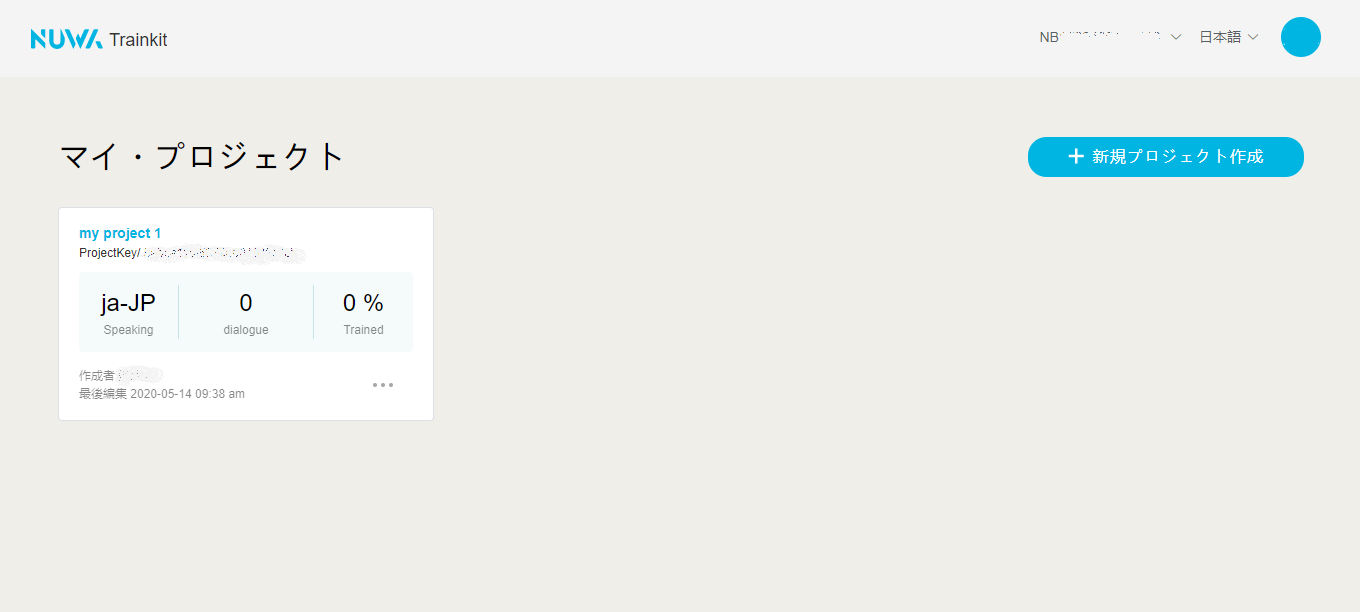
After login TrainKit(トレーニングキット) Service, there is a empty workspace.
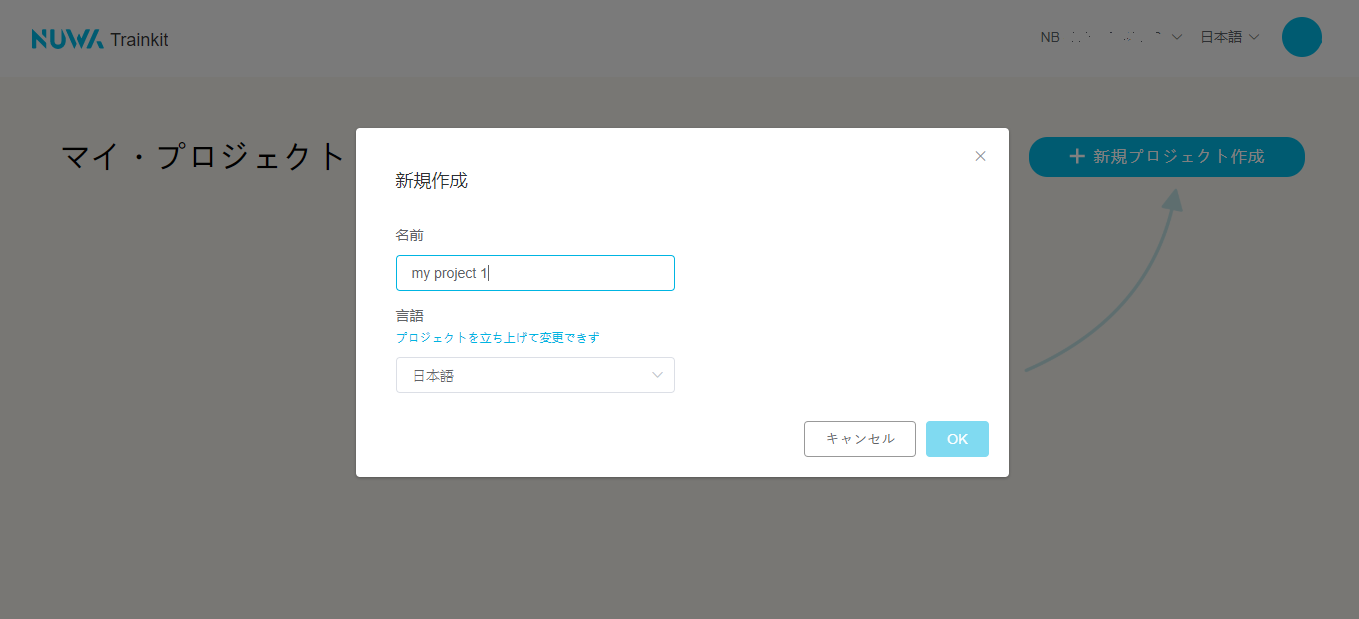
Step 1 : Select 新規プロジェクト作成 to create a new project.

Setp 2 : Decided your own project name, and project language.
Step 3 : Click project panel to start setup.
Setup Normal Speach response
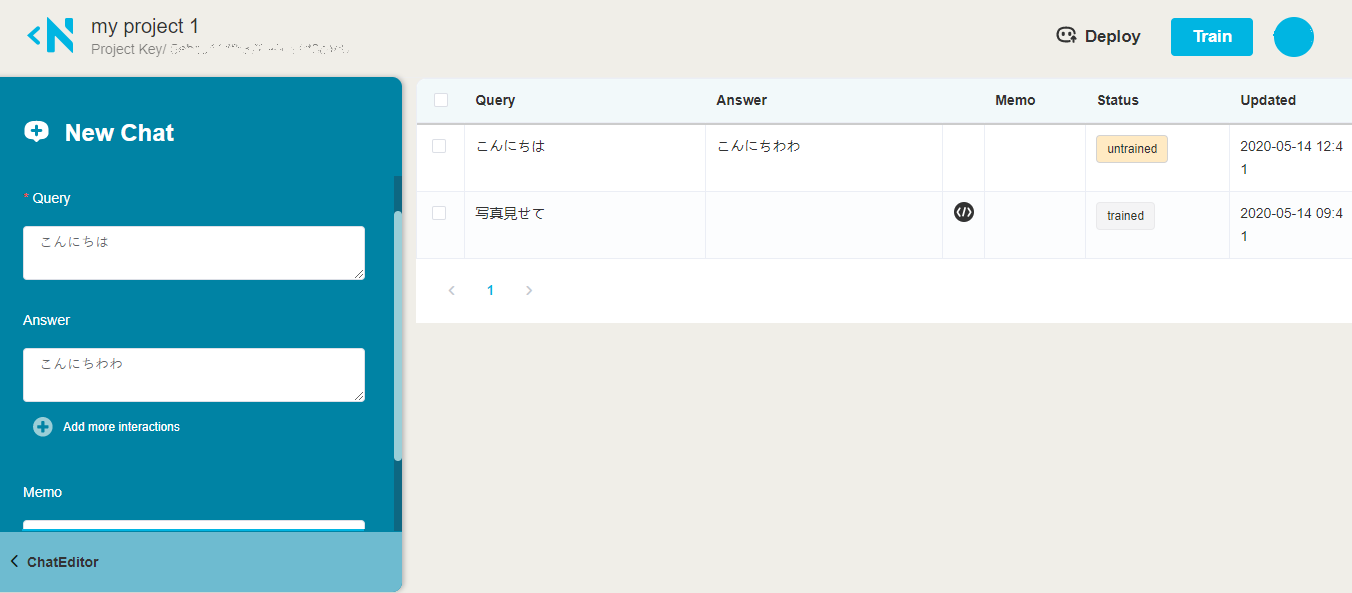
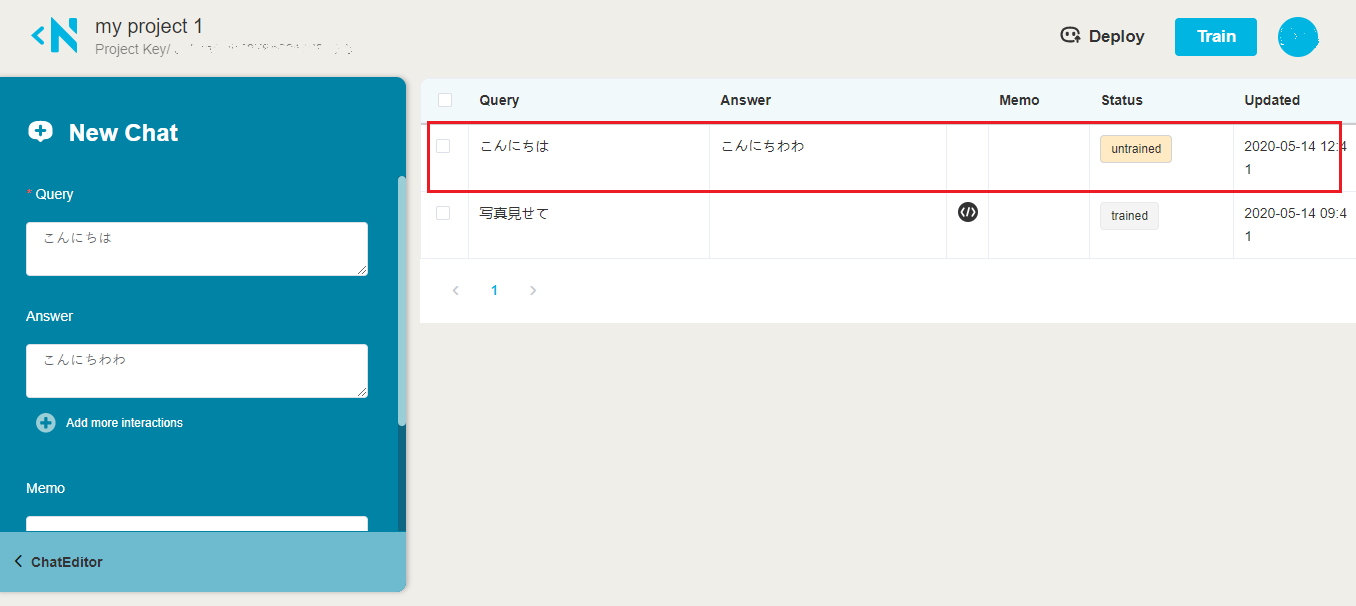
Step 1 : Add a Q & A
Query (入力文)
- Fill detect string
こんにちは
Answer(応答文)
- Fill Robot response speech
こんにちわわ
Step 2 : Submit this Q & A
Press Add(追加) Button.
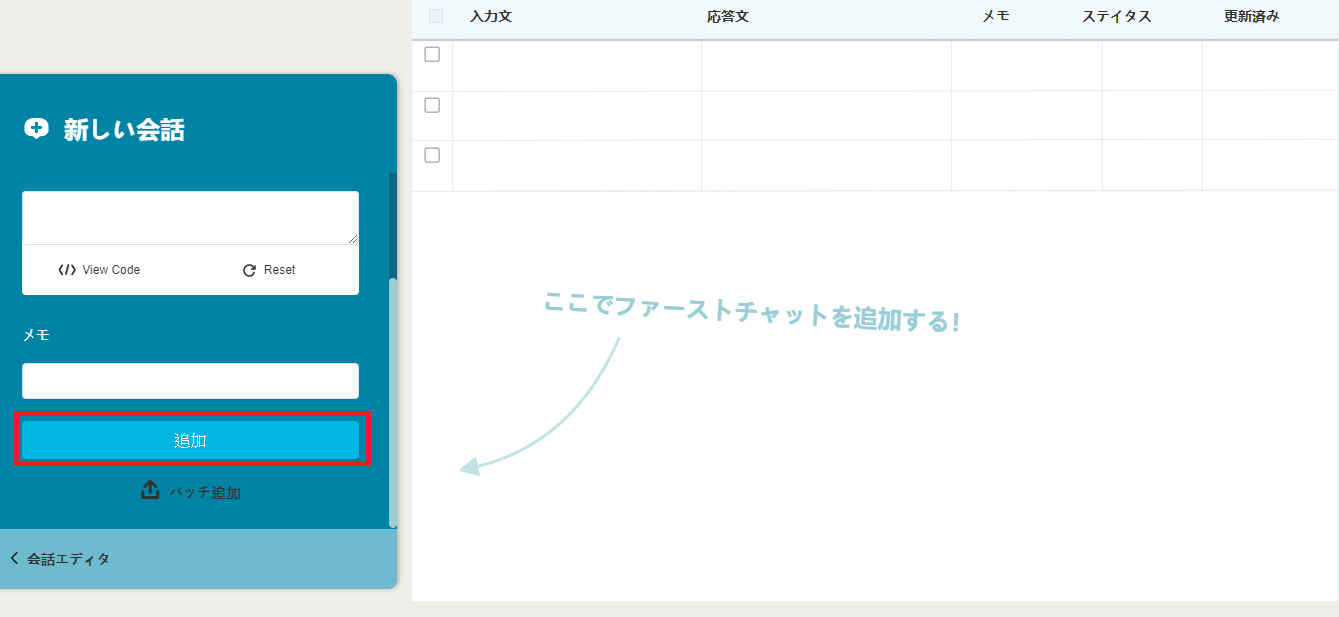
Then there is a popup message to notify add finished.
If you want add several Q & A, repeat this step.
Setup Customize Intent(For SDK CustomBehavior)
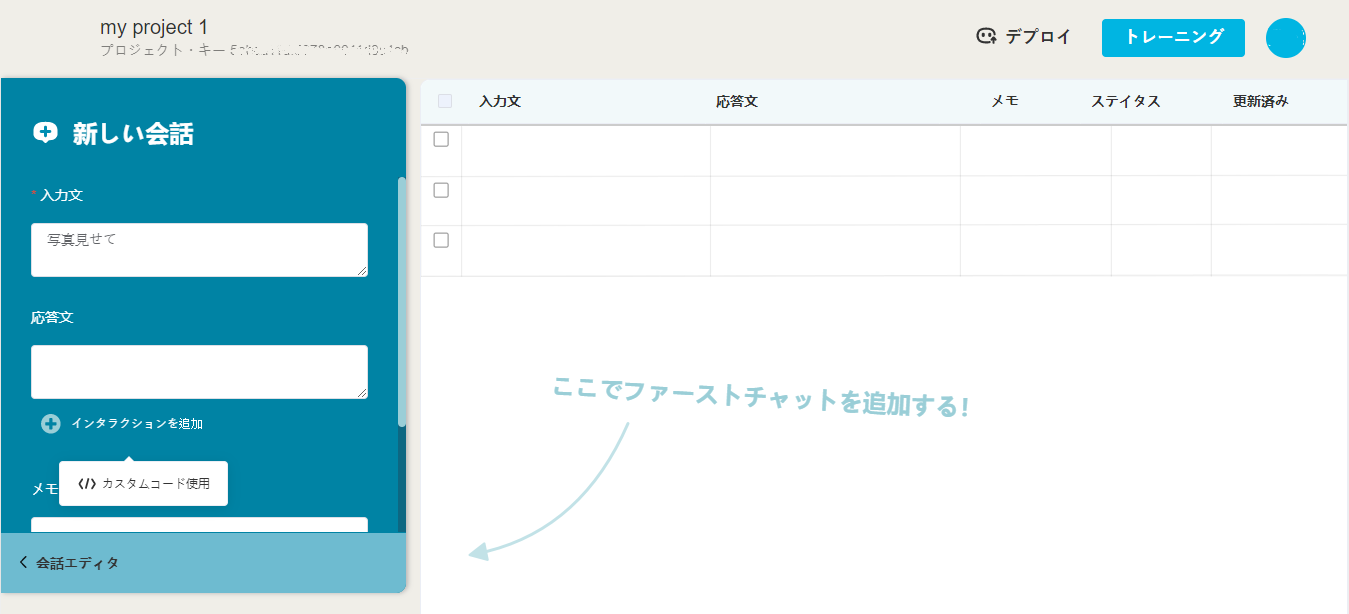
Step 1 : Add a CustomBehavior Query String
For Example of NuwaCustomBehaviorExample2 on github.
Query (入力文)
- Fill detect string
写真見せて
Step 2 : Add notify data(JSON) as Answer
This JSON string will bypass to register BaseBehaviorService Service when Query String hit.
Answer(応答文)
- Than click
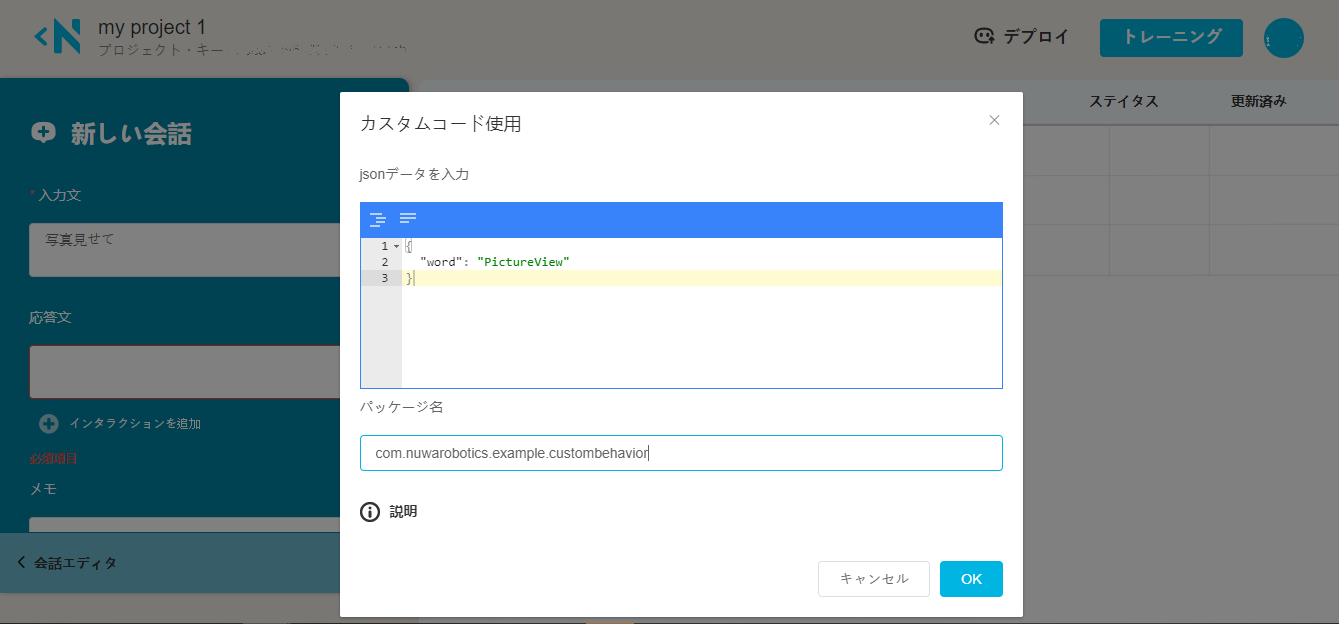
Add more interactions(インタラクションを追加) ->Use Custom Code(カスタムコード使用) to add a CustomBehavior Response.
- Fill customize JSON
{"word": "PictureView"}
- Fill receiver package name
xxxxxxxxxxPackageName: com.nuwarobotics.example.custombehavior
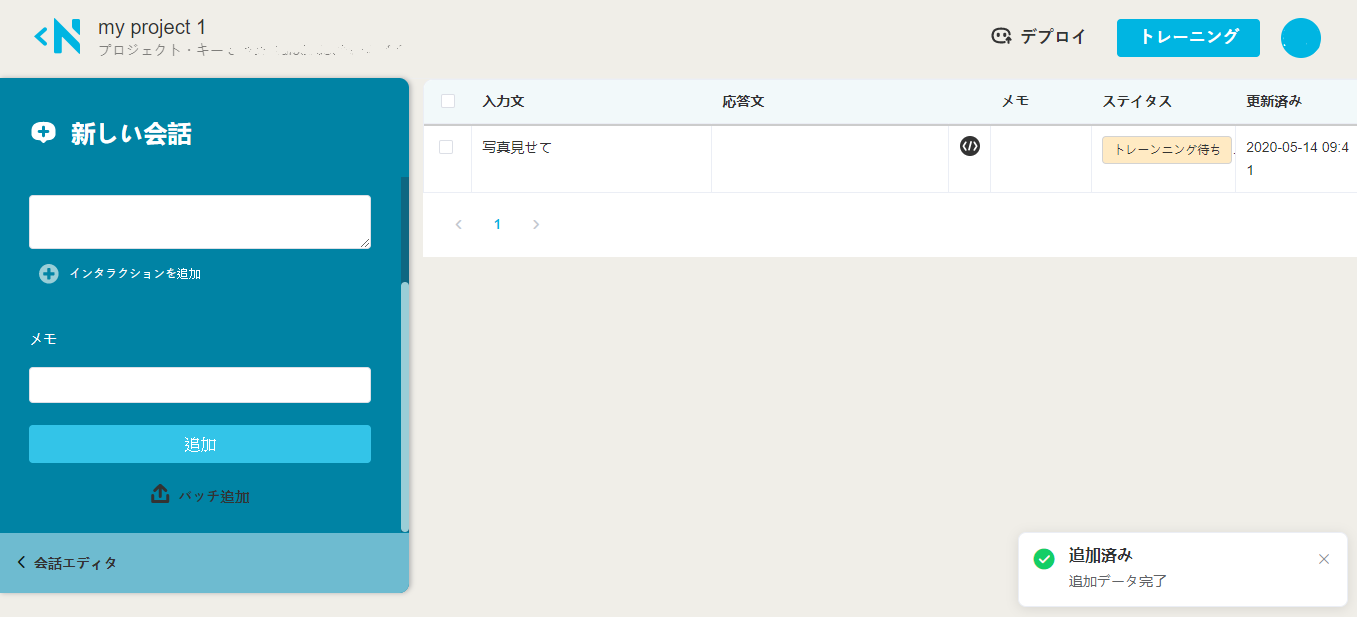
Step 3 : Submit this Q & A
Press Add(追加) Button.
Then there is a popup message to notify add finished.
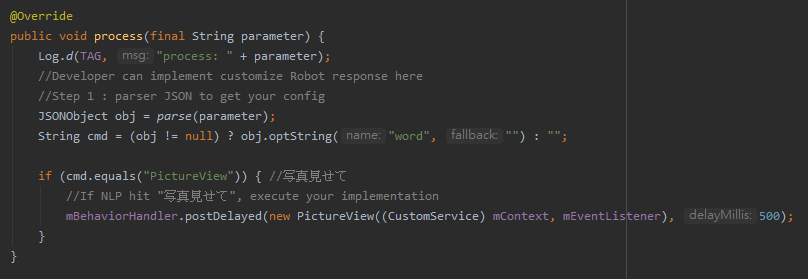
Step 4 : Implement receive notify on 3rd BaseBehaviorService
When Query String hit, NUWA system will notify BaseBehaviorService via process(String parameter) callback.
If you want add several Q & A, repeat this step.
Execute NUWA Brain Training
NUWA TrainKit(トレーニングキット) try to compute fuzzy linguistic from your Query to more sentence.
Press Train(トレーニング) to start compute.
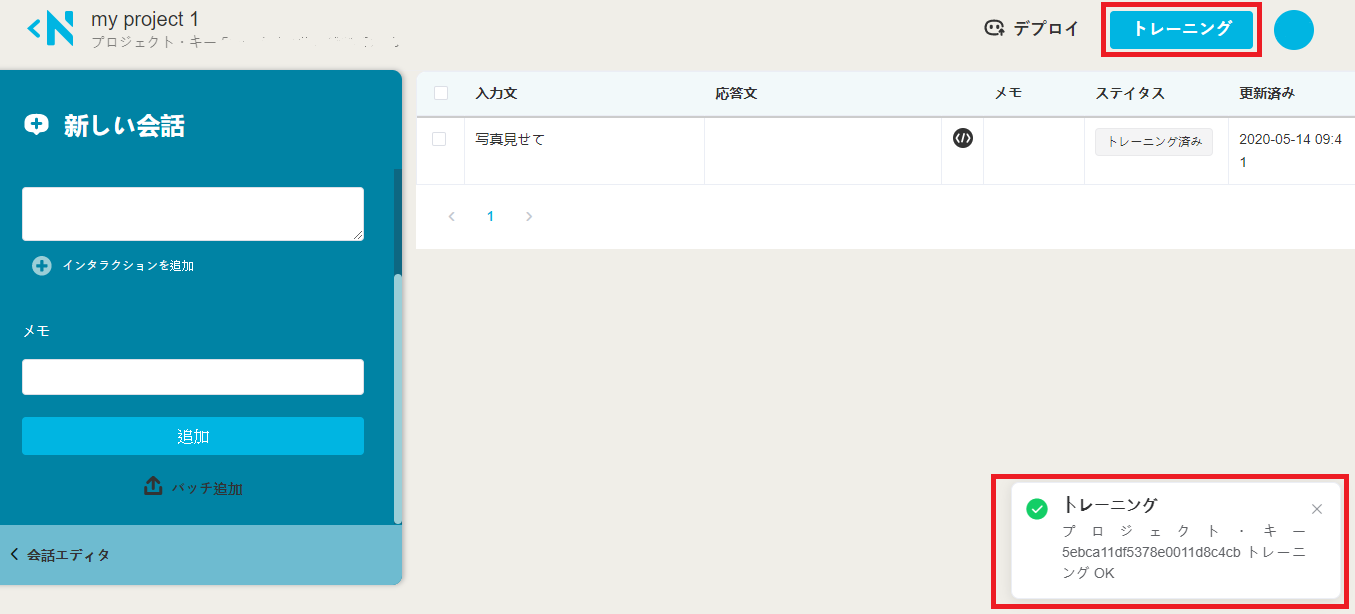
After train finished, a message popup to notify.
Deploy project setting to target Robot
After setup your own user corpora, and had execute train.
We need deploy this user corpora to specific Robot device NUWA Brain.
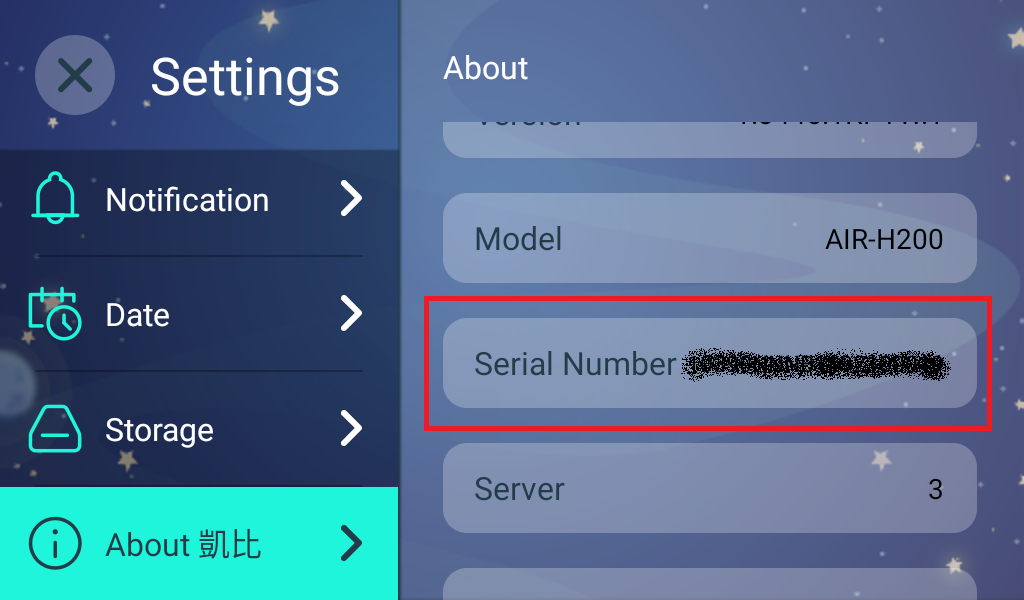
Step 1 : Select Deploy(デプロイ) and fill your device Serial Number
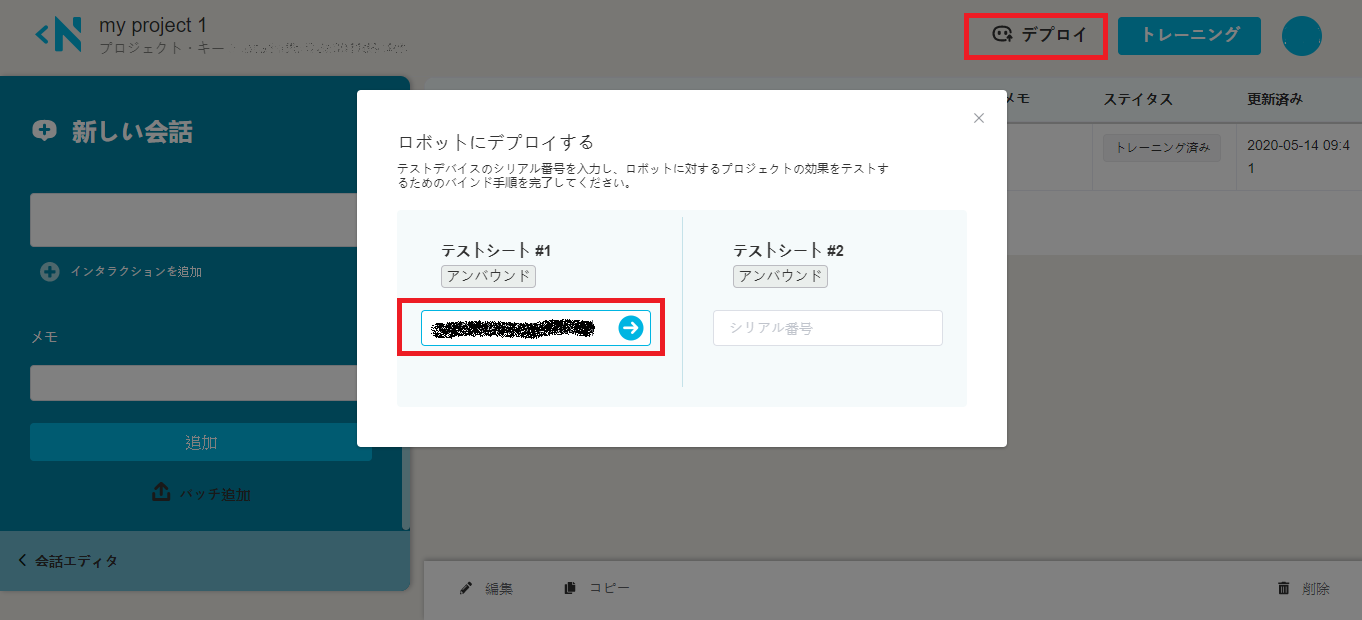
You can find Serial Number on setting -> About Kebbi -> Serial Number
Step 2 : Press blue arrow to start deploy
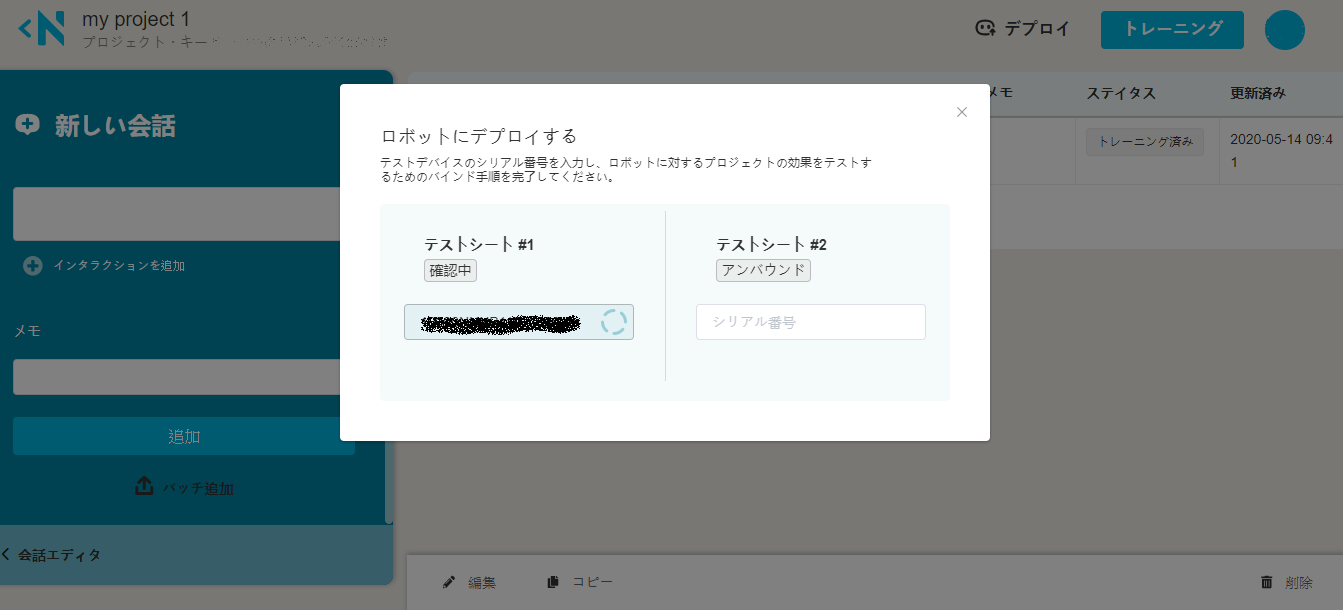
After confirm Serial Number and bind device success. UI will change status.
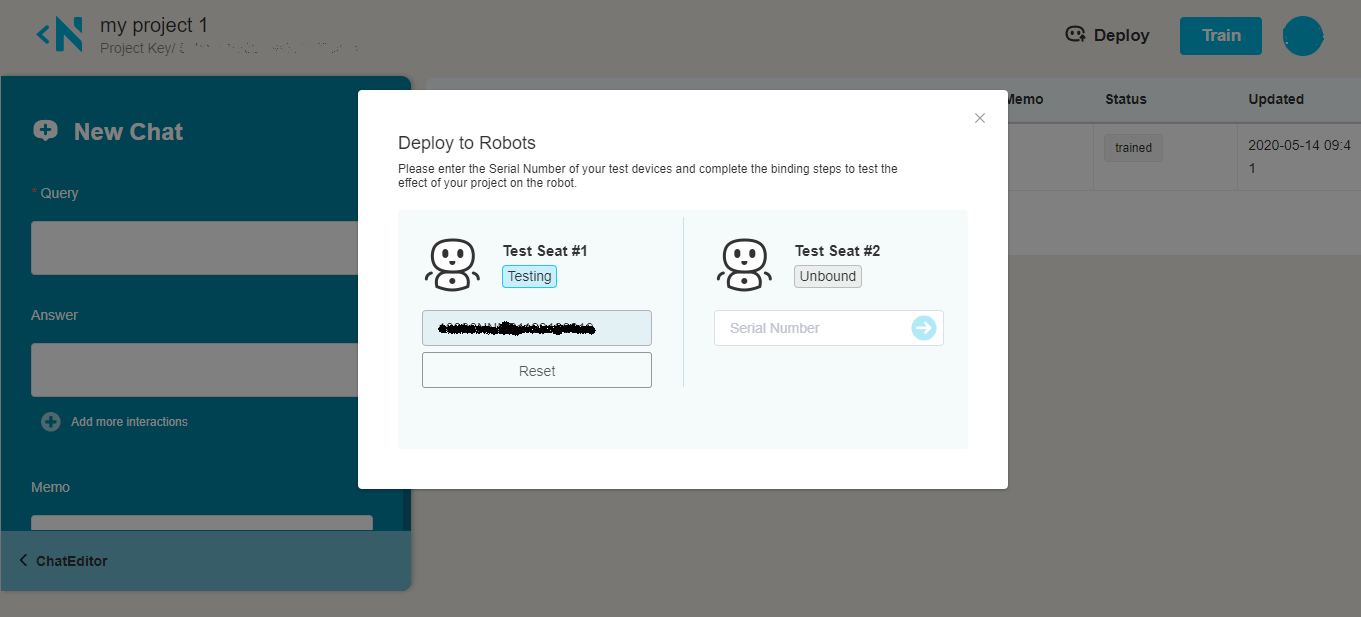
NOTICE : if you want to unbind device, just press Reset to unbind.